pcb-rnd knowledge pool
External autorouter: c-pcb
| c-pcb by Tibor 'Igor2' Palinkas on 2018-10-01 | Tags: howto, auto-routing, auto, routing |
Abstract: Autorouting using the external auto router c-pcb. This howto guides the user through all steps, from c-pcb installation to routing using pcb-rnd GUI.
C-pcb is a very small autorouter tool. It is written in C++. It loads a board specified in the c-pcb format, does the routing and exports the board back in c-pcb format. In pcb-rnd there is an ar_cpcb plugin that can export to and import from the c-pcb format and can coordinate a full autorouting session.
Preparation: install c-pcb
- svn checkout https://github.com/vygr/C-PCB/trunk c-pcb/trunk
- cd c-pcb/trunk
- make c_pcb
- as root : cp c_pcb /usr/local/bin/c_pcb
Preparation: pcb-rnd
Make sure the ar_cpcb plugin is enabled.
Full-board autorouting from CLI
1. Load the schematics and place the subcircuits:
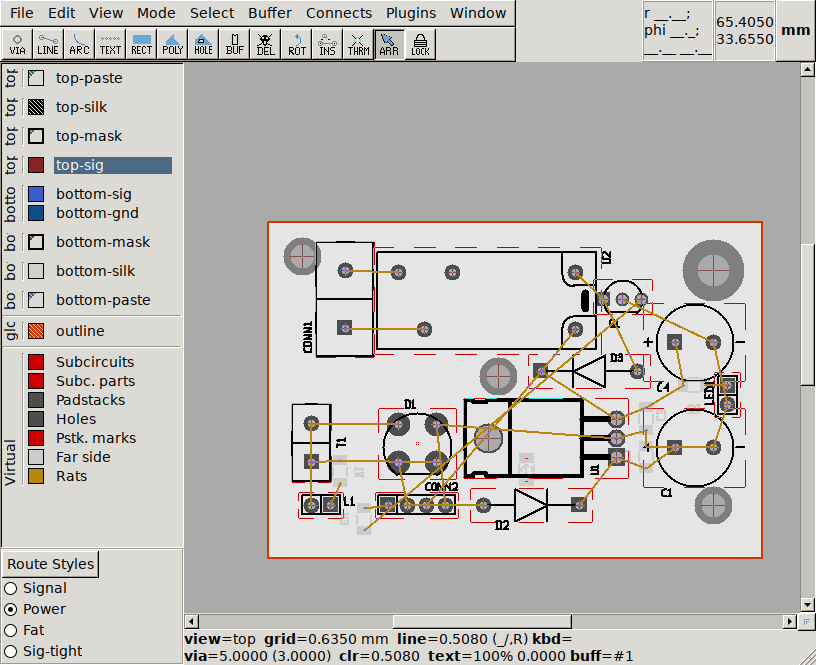
2. Select the routing style to use for all nets and turn copper layer visibility on/off: c-pcb routing will use only visible layers
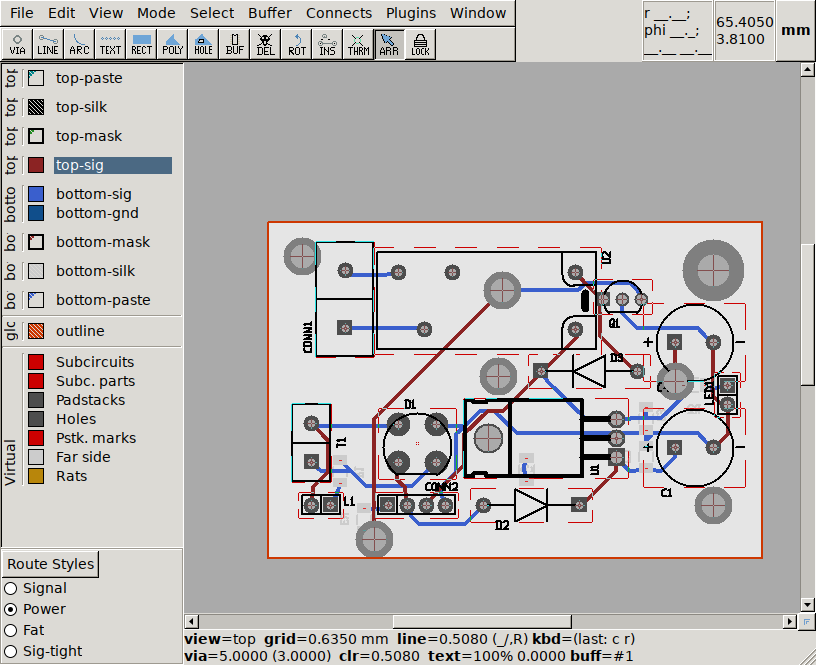
3. Execute action cpcb(board) or if /usr/local/bin is not on $PATH, action cpcb(board, /usr/local/bin/c_pcb)
4. After a few seconds the routed board should show up:
Partial autorouting from CLI
Not yet supported.
Parameter tuning from CLI
The second parameter of the cpcb action is a full command line that will be executed. It may contain any command line switch that c-pcb supports (see c_pcb --help). For example it is possible to change the cost of vias between 0 and 100 using -z; the higher the value is, the less vias are used, even if tracks have to go long detours. To change via cost to 20, use: cpcb(board, "/usr/local/bin/c_pcb -z 20")